

Lengro’s Beauty Box
How To Organize Your Makeup Collection
By Tatiana Mandos

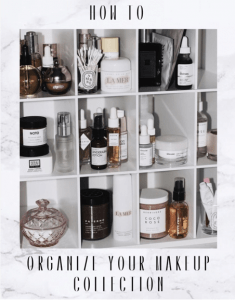
If you love your makeup & beauty products just as much as I do, then you’re in the right place! You probably also love organizing (and re-organizing) your makeup collection. It’s all so much fun while growing our collection of makeup, but once we feel a bit overwhelmed with too many products, the situation gets a bit sticky!
Unfortunately, organizing makeup isn’t always as easy as it sounds. If you’ve got a ton of products like our makeup gurus, you could wind up stacking them or storing them at the back of your cupboard and end up forgetting you even had them – which also means that you can’t always find everything you need.
Without further ado, let’s jump straight into getting your makeup collection efficiently organized for you to be ready to add more of the best makeup products to your collection.
Evaluate
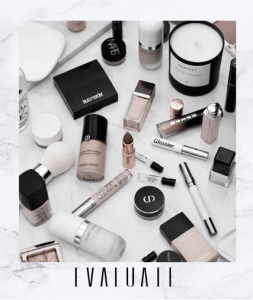
This is something that we all do or have done once in our life: avoiding cleaning/organizing our makeup stash. Trust me, just the thought of it brings me back to that exact feeling I had back when my makeup boxes were all over the shop. However, it got me thinking about how I really needed to get my makeup game together. It’s so important to keep your space clean and organized.
First things first! I would highly recommend that you begin by assessing and evaluating ALL of your items. Start by picking out the old, broken and expired items. Evaluate the situation, don’t rush into it and pull all your makeup out at once as it can be extremely overwhelming, especially if you have a lot. Trust me! Been there, done that.
Firstly, put all of your makeup in one spot to assess how much you actually own. Including that empty purse and travel bag that you’ve left makeup in and perhaps completely forgotten you even had it. Most of us actually tend to re-buy the same colours and have multiples of favourite lipsticks, mascaras, glosses etc. you’re not alone, I can assure you! I am super guilty of that too!
Sort by Category
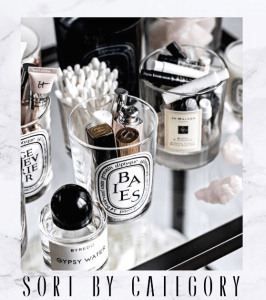
Divide everything into their categories. I found this step super useful. Start off by laying everything out on a clean table surface or on a towel on your floor (which is what I do). By doing this, it makes the process smoother and easier to sort your items.
This assists you by seeing how you can pack and organize your items in their category as well as what kind of storage containers you would need for them.
Get Rid of Expired Items
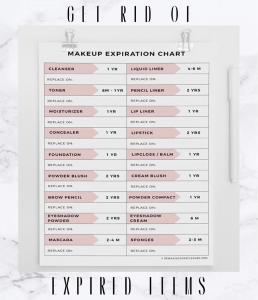
Did you know that cosmetics expire too? I definitely did not know this until I began studying makeup full time and learning more about the industry and its products. We learn something new every single day, don’t we?
It’s time to say goodbye to that eyeshadow palette from when you were in college or high school. Please get rid of them, It’s not healthy for your skin. An eye infection or pimples are not worth being miserable over makeup.
Within each sub-pile, throw away any item that you haven’t worn in over 12 months. It’s just like clothes, we get rid of them to create space for the new ones.
Clean & Disinfect
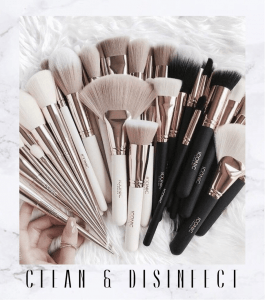
This has to be my favourite part about organizing any makeup stash! It’s not just my favourite, but it’s the most crucial step.
Make sure that you clean and disinfect all of your cosmetics and equipment such as; eyeshadow palettes, lipsticks, foundations, brushes, lip liners, eyelash curlers etc… as the list goes on and on. However, you get the gist of it!
Your brushes should be washed and disinfected every time you use them, but let’s be real with ourselves! We don’t always wash our brushes immediately after usage, especially when we’re in a rush. I’d definitely recommend washing your brushes at least once or twice a week if you’re constantly using them on yourself. For client purposes, it’s way different. That’s a topic for another day. Brushes keep bacteria in them from the build-up of makeup and your natural oils that your skin produces. That resolves into breakouts on your face and cross-contamination with your products which is so not what we want!
Here’s a tip, I wash all my brushes and have separate containers for them for instance; small brushes in one, bigger brushes in the other, and the brushes I use on a daily basis in another. This made the biggest difference for me personally! It narrowed down how many brushes or items I have to clean.
Label & Organize
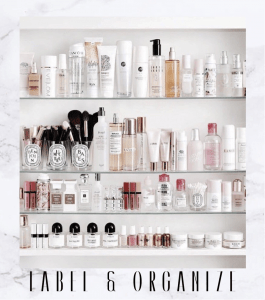
This is the best part! We’re one step closer to seeing the final results! When it comes to organizing your at-home makeup stash, keep it simple, clean, and categorized. Labels are a huge help in this step too.
Keeping your makeup and equipment in a clean drawer/container is recommended rather than your items being out on the counter where it is exposed to dust, sunlight and bathroom steam.
Get yourself a few containers (preferably your style) and begin packing your categorized items neatly into their spaces. Label your containers the way you’d like and in a way that’s easiest for you to work with.
Thank you so much for reading my article! I’d love to hear what your outcome is, and how you organize your makeup stash!
You can find me on all of my social media platforms from here.
Tatiana x