Lengro’s Beauty Box
3 Easy Halloween Makeup Looks
By Devina Mehta & Laura Chester

All Hallows Eve is upon us! If you’re stuck for spooky makeup ideas or just need some inspiration, you’re in the right place. This week I am going through 3 different Halloween makeup looks that anyone can do, complete with short video tutorials. From glam to downright scary, these looks will fit whatever plans you have for Halloween.
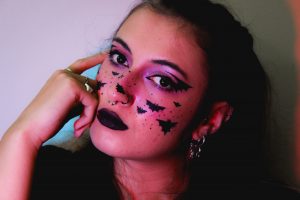
Holographic Bats
@de.priv.eit’s frickin bats 🦇✨ sorry about the terrible transitions ##fyp ##halloweenmakeup♬ Monster Mash – Bobby Pickett
This is more of a sparkly glam look with a lot of eyeliner! If you don’t want your makeup to be too dark, then this is perfect.
Start off with you normal base routine – concealer, foundation, blush, etc. Then, grab some glittery and holographic eyeshadow colours. I’ve gone for a more purple tone, but this look can work with any colour. Pack those colours onto your eyelid – easy! No need to do anything fancy. Using those same colours, work them into your cheeks and nose like you would extreme blush.
Now with the eyeliner – this look would still be effective with normal eyeliner, but I opted for batwing eyeliner instead. The top bit if fairly easy to copy, but with the spikes, I start out by marking the points with small dots and creating triangles from them. It doesn’t have to be perfect! Add some mascara and some lashes if you’re brave enough and then the eyes are done.
With the face bats, I roughly drew them on with a light coloured lip pencil, then went over them with black liquid liner. I found it easiest to start with a big triangle for the body, then using the dots, adding on the wings. Don’t forget the ears!
Finish off with a dark lip and that’s it! Don’t forget to take lots of pictures – it’s always so sad when you have to take it all off!

Pumpkin King
This look is a little edgier and is a combination between a pumpkin and a skull. It’s dark, scary, and is better when its a little bit messy.
First I started with an orange shade all over my eyelids and around my eye sockets, dragging it down the sides of my nose. Then, use darker tones to really deepen those sunken eyes. You want to look like you haven’t slept for a week, then it’s perfect. Next, use a pencil eyeliner for your bottom waterline and upper and lower lashline. If you want, add a small winged liner – why not?
Next, take a small angled brush with a bit of black eyeshadow on it and draw a line about 5-7cm long. Blend it in from the top, then add a line of liquid liner to make it pop.
For contour/blush, I used an orange and brown eyeshadow shade to define my cheekbones and jawline.
For the nose, I started off by drawing a half figure of 8, then filling in the tips to make it really pointy. Fill in when done.
Now for the fun bit – the mouth. Start by taking that same angled brush and extending the corners of your mouth until your happy with the size. Roughly put on some black lipstick, and take your liquid liner to make the teeth. You could make them just lines, spikes, or fangs, or a mix of all 3 like I did. It’s really up to you! As I said before – this look thrives on being a little messy, so don’t worry about getting everything perfect. Just make sure to fill in the gaps.
Chuck on some mascara and you’re good to go!

Creepy Clown
This one if probably the easiest to do out of the 3, and if you do it right, it can be scary as hell. Inspired by the clown from It, this is a nice girly version of it.
As with the first two, start off with your normal base makeup.
First of all, you want to start off with black eyeshadow, packing that colour on the lid. It’s going to make you look a little like a racoon but bare with me! Then, blend it out with red eyeshadow, going all the way to your eyebrow, making sure there are no harsh lines as well as blending all the way under your lower lash line. Hit it with a winged liner and a black pencil liner in your waterline.
Next, you want to draw 3/4 of a black box underneath your eyebrow with a pencil liner. Make sure this is in the middle of your eye. Above the eyebrow, put a black dot where you want the tip of your triangle to go and connect the lines to the ones you made just before. Fill it in with a red lip liner.
Take a lighter lip liner shade to map out where you want the smile lines to go to make sure you’re completely happy with the placement. Then, take your black pencil liner and draw half the line on each side. Take your Red lip liner and do the same from your mouth. You can blend or combine these 2 as much as you would like.
Then, overline your lips either with the red or the black, making sure to really over-exaggerate the corners of your mouth. Fill it all in with bright red lipstick.
Now, you can either leave it here or go a step further with some fake blood. I decided to drip some from my eye and my nose, as well as using a brush to dab it on my lips and the smile lines. I think it added another dimension to the look, but be careful – it stains!!
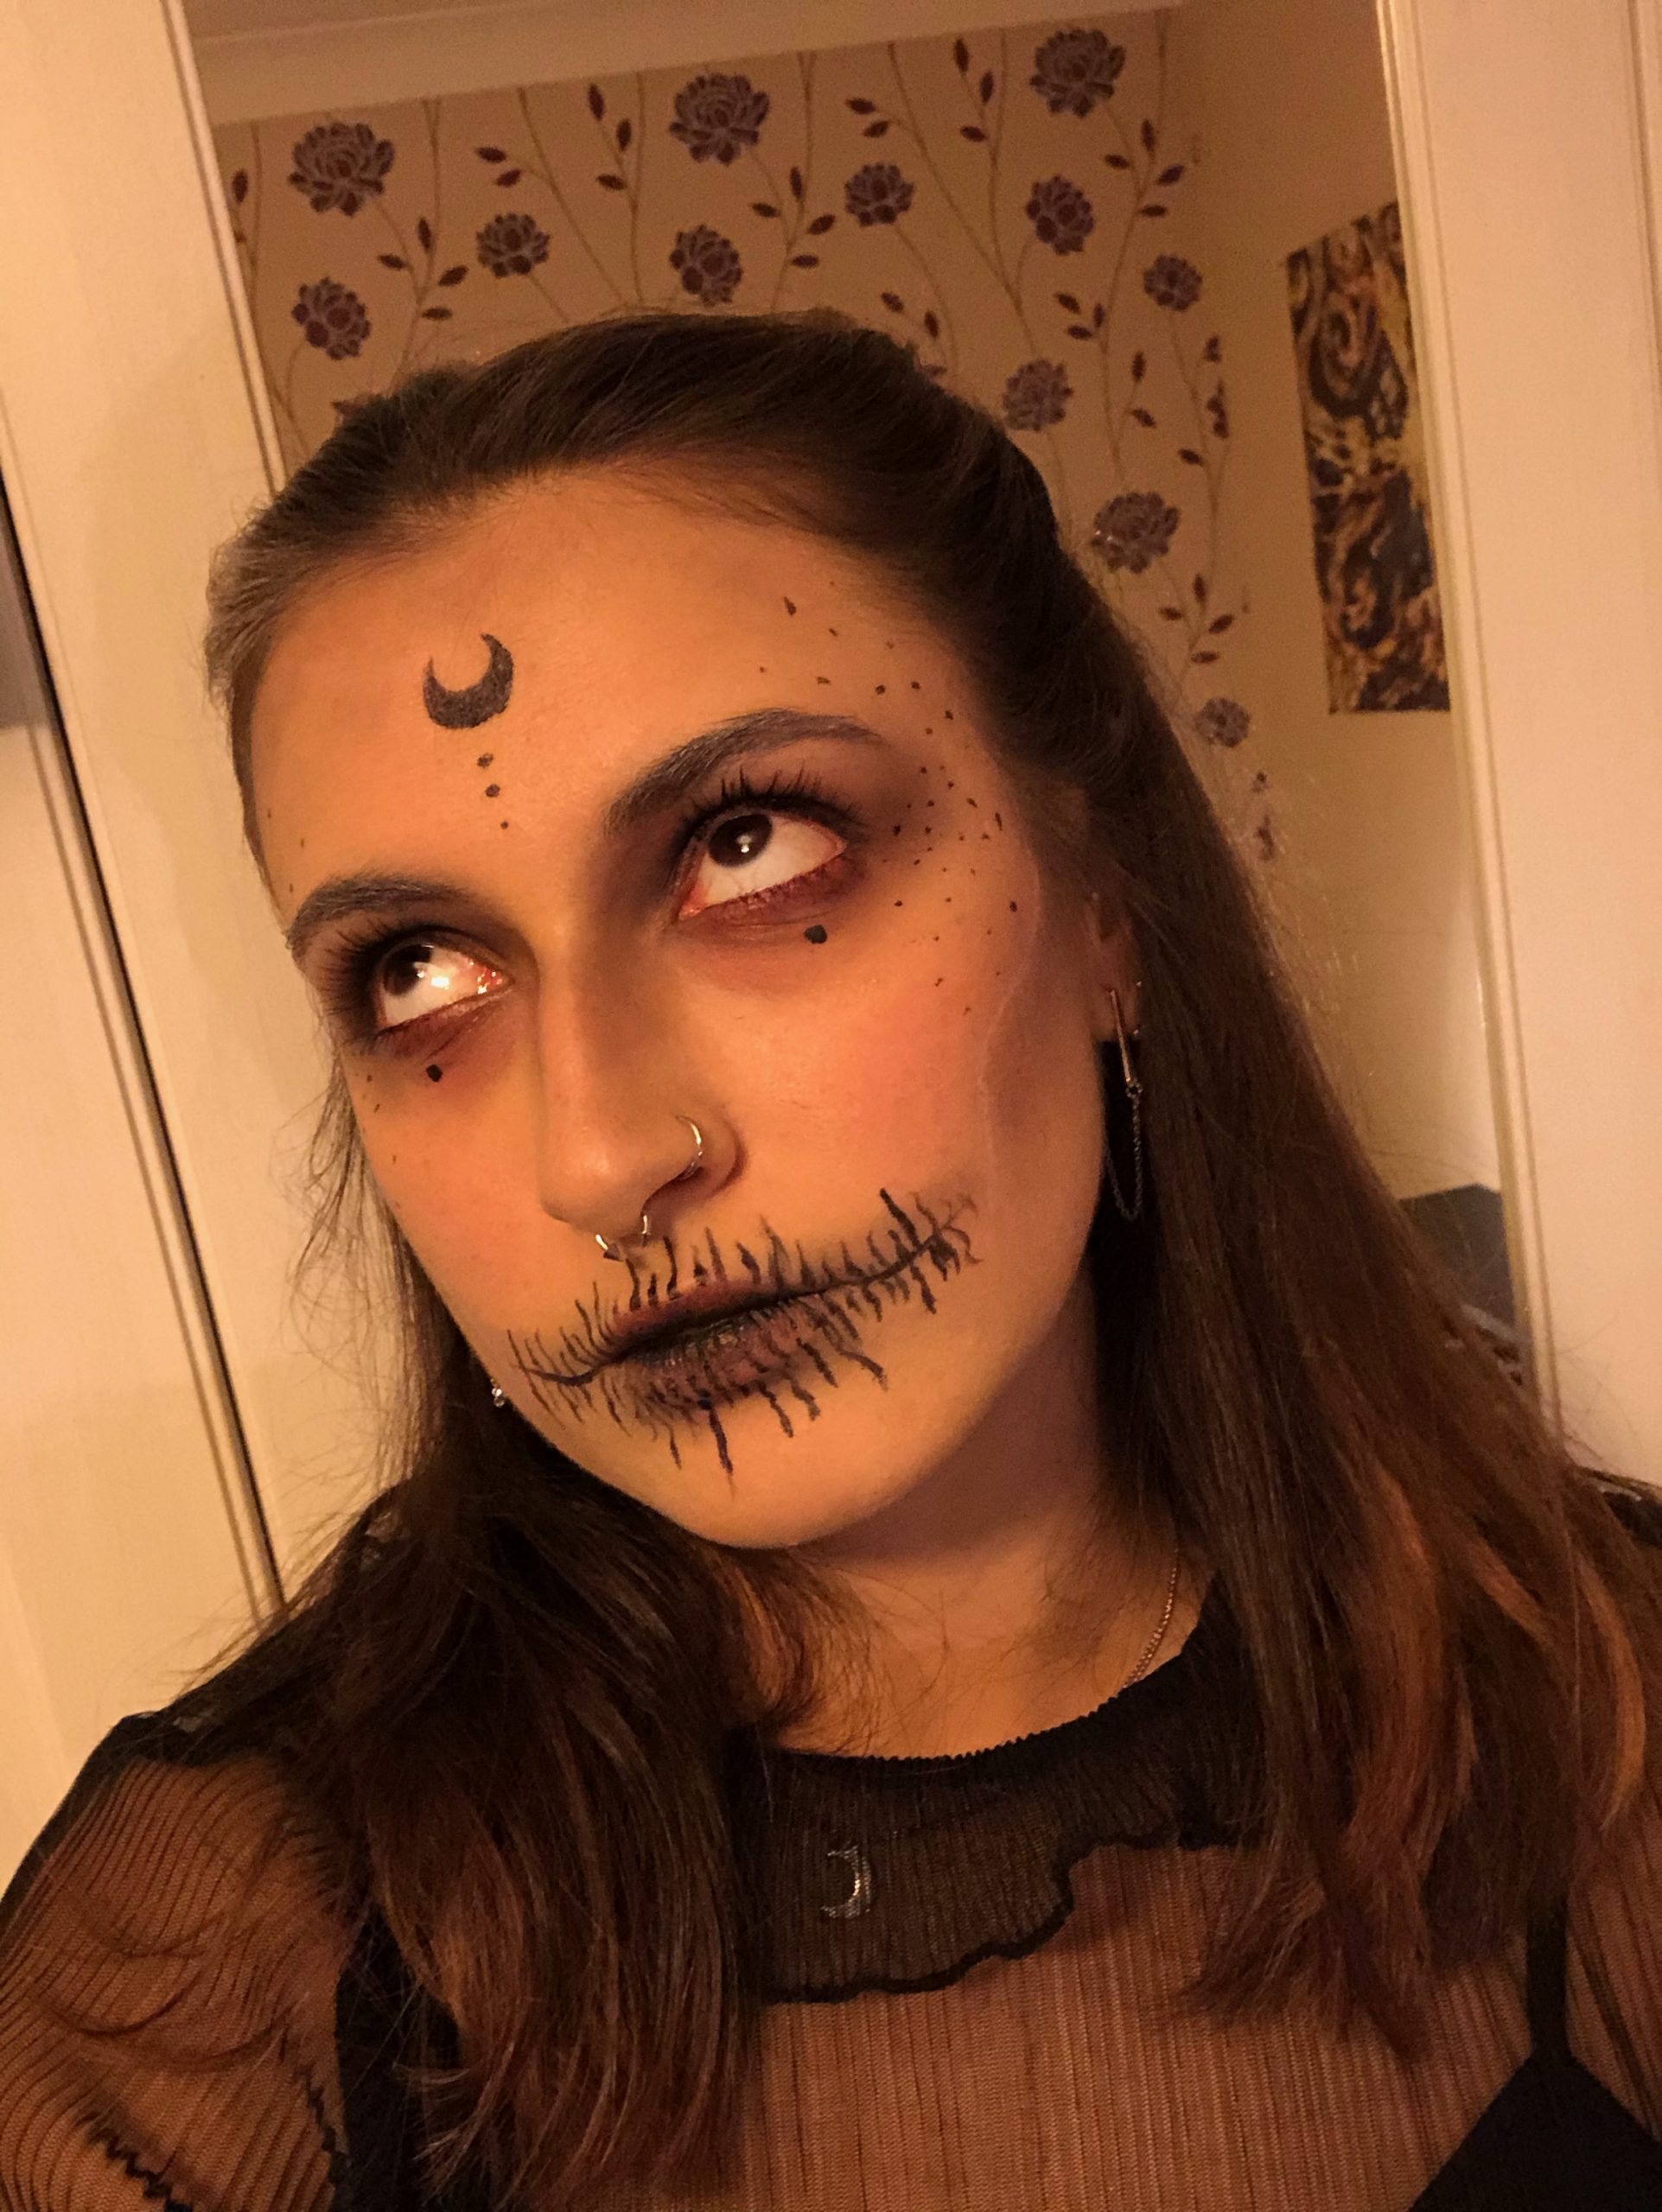
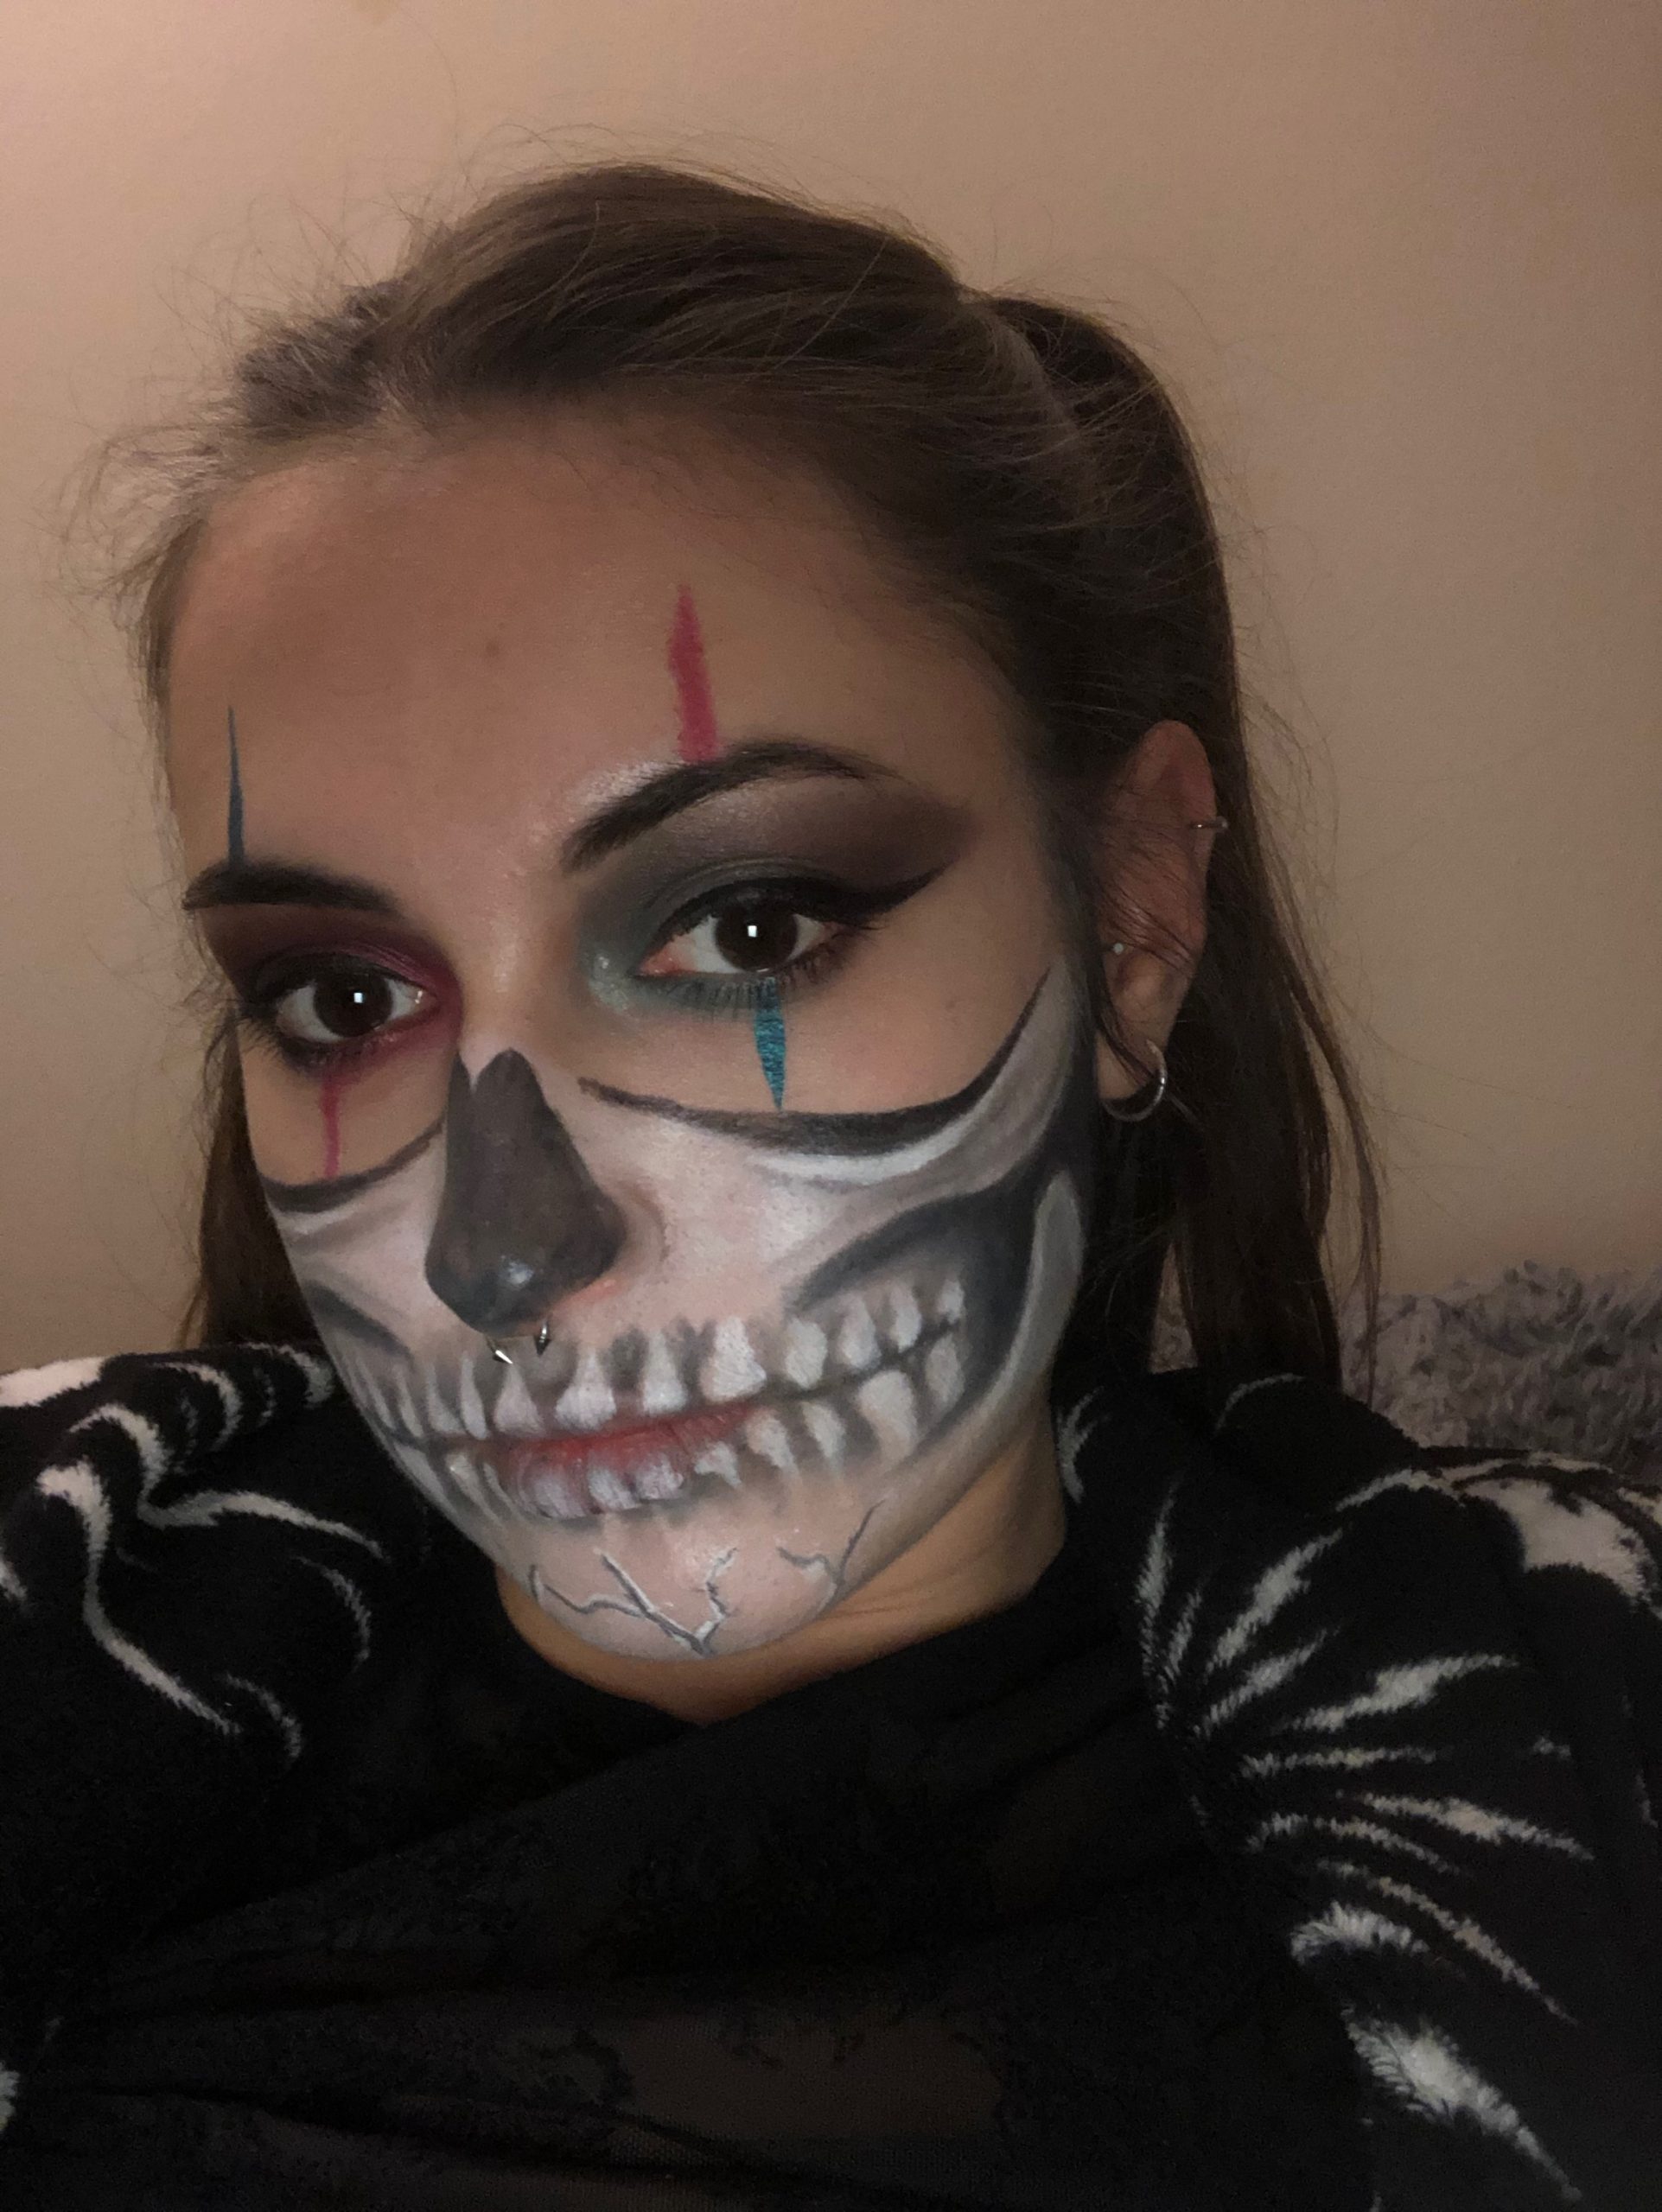
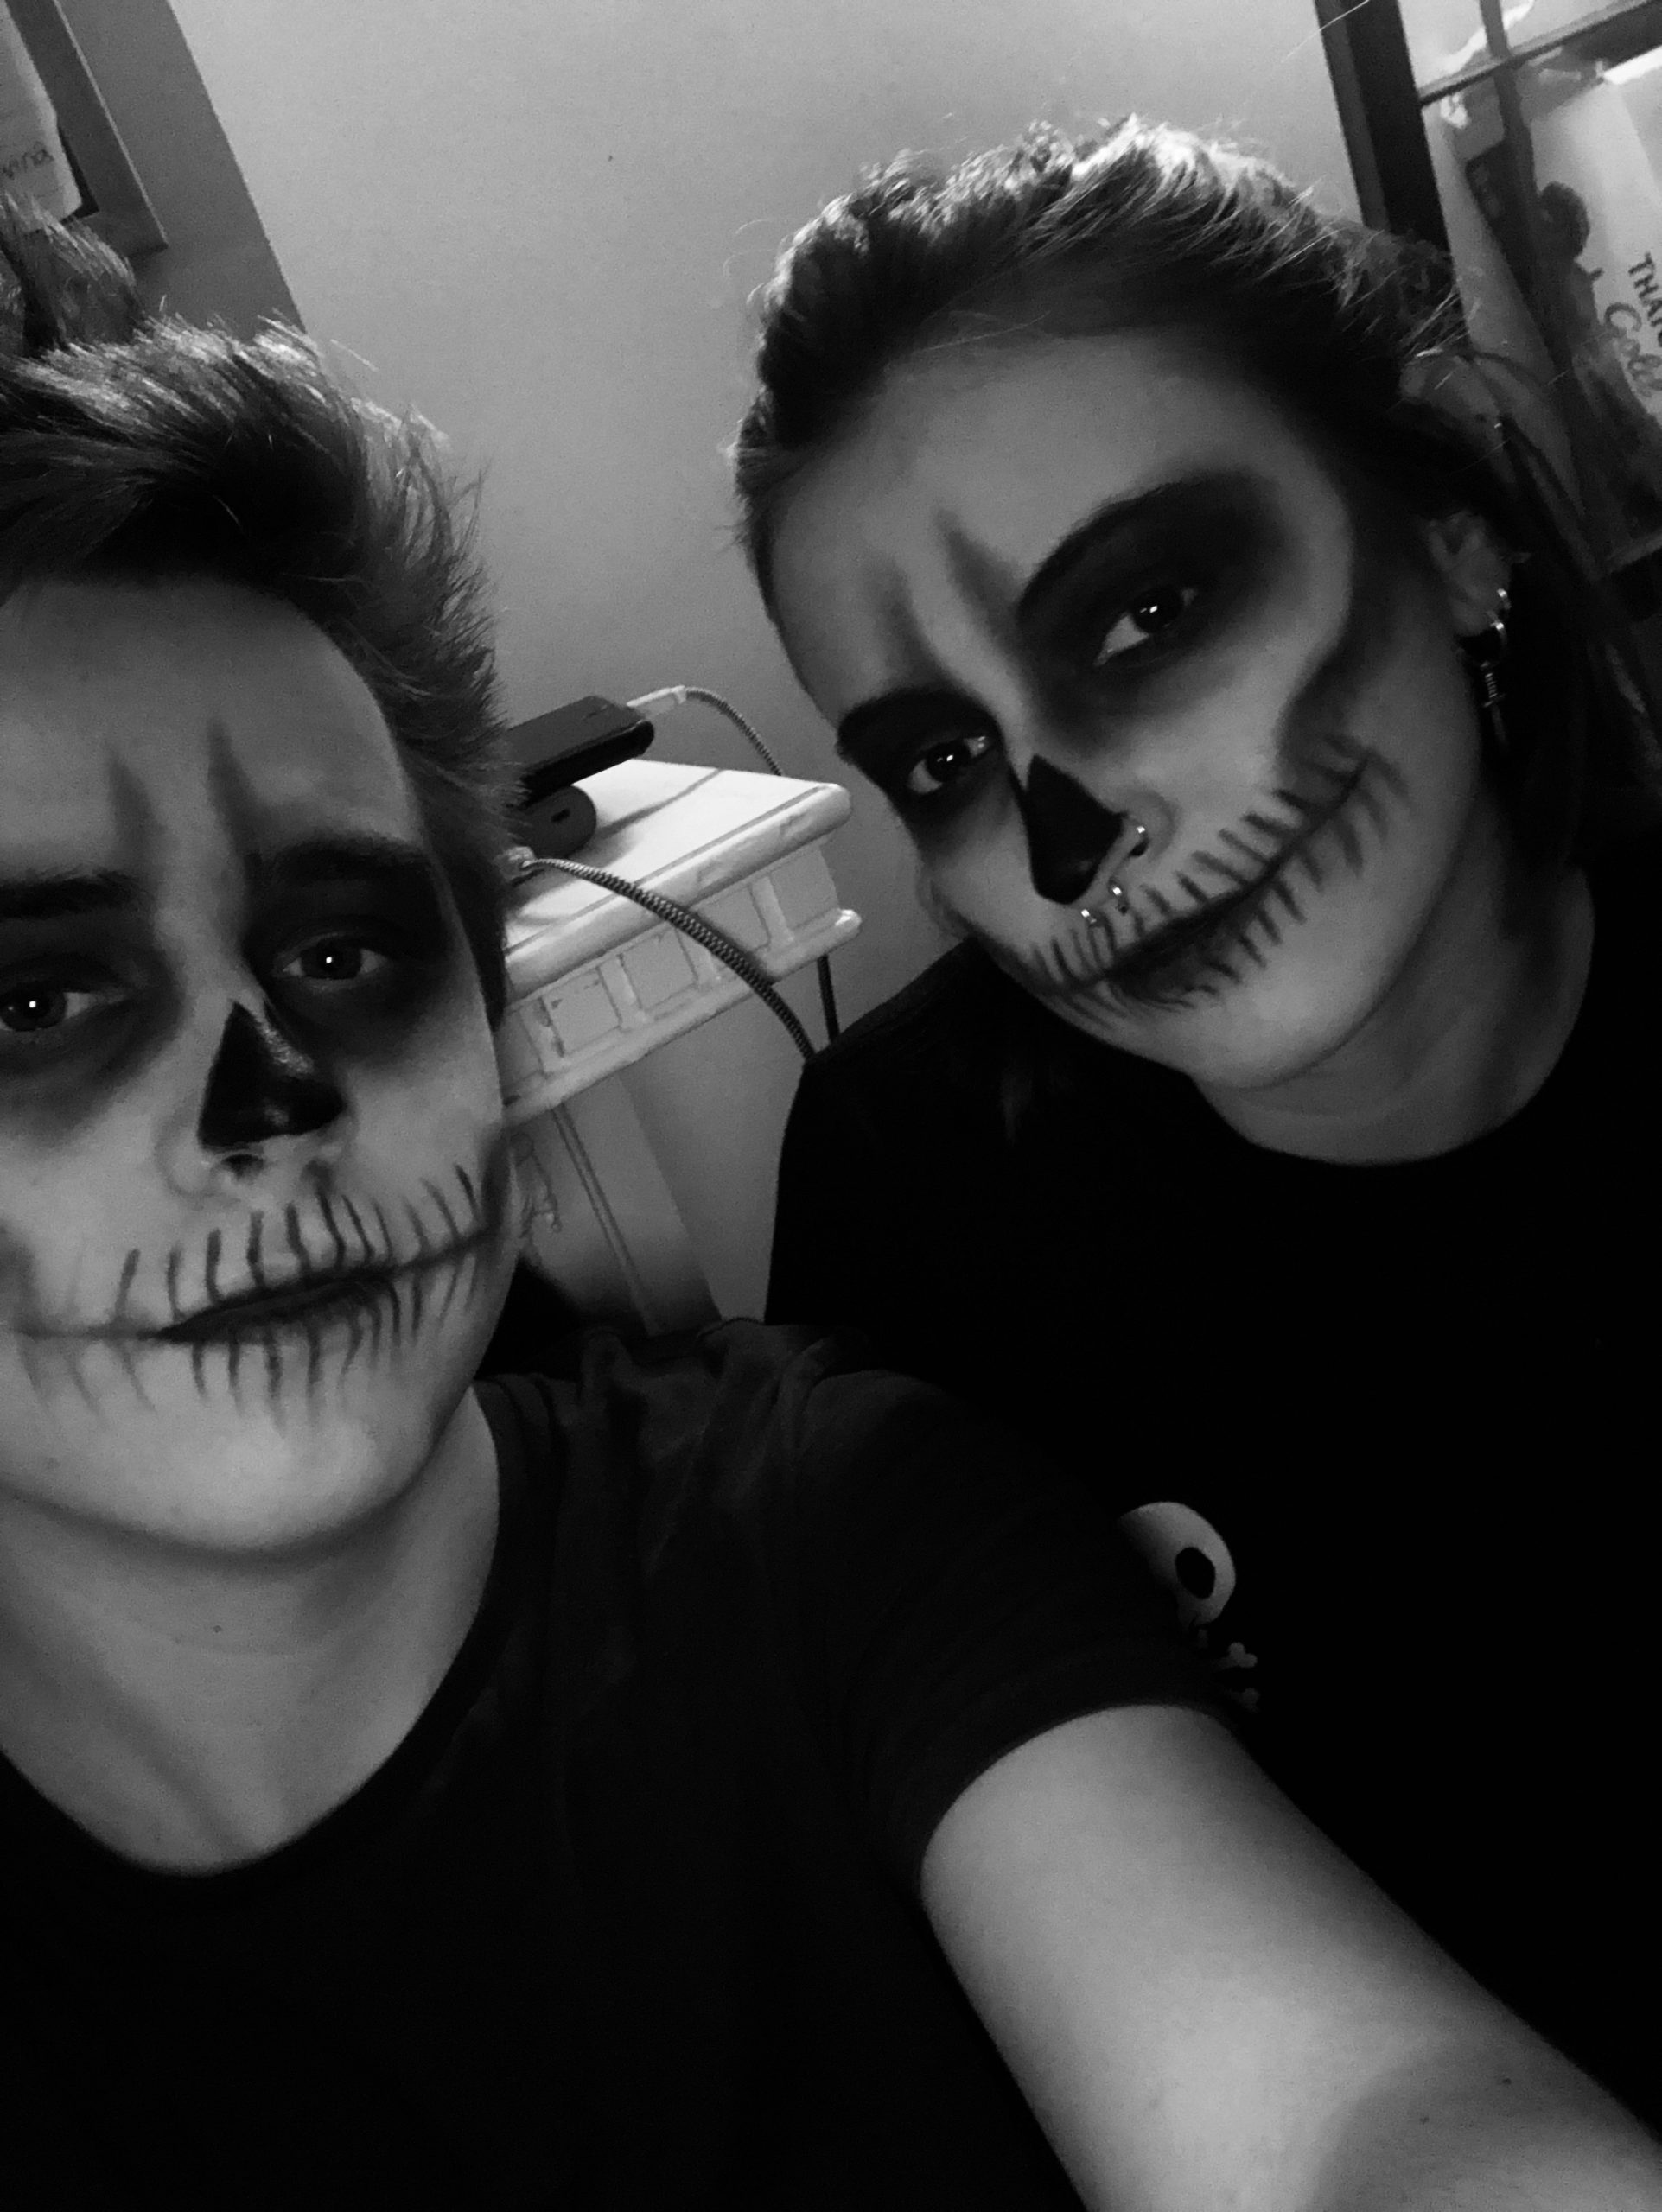
If you’re still stuck for inspiration, here are a couple of looks I’ve done in previous years.
I hope these tutorials were helpful for this Halloween! If you recreate any of these looks I would love to see them – just message me on Instagram on Facebook below.
Don’t forget to check out my other article if you’re stuck for costume ideas! You can find it here.
Until next time,
Devina xx
Instagram: @devina.photo
Facebook: @devinamehta.photography
Beauty Myths – Laura Chester
Hello all, this week I’m eagerly Stephen Fry’s latest book in his retelling of Greek myths, and it got me thinking about beauty myths. And I’m not talking about Helen of Troy!
As women, we old wives’ tales all our lives. And for a beauty professional that goes double! I’ve heard clients and friends say some crazy thing about hair, skin, and nails, and I’ve probably repeated some of them, only contributing to the endless circle of misinformation floating around the world!
So let’s tackle some of the more common ones.
“Nails need to breathe.”
No. Just no. As a Nail Tech, I have heard this so many times. “I’m having a break from gels to let my nails breathe.” If this is you, no shade, babe! It’s so common, everyone has heard it. But it’s simply not true. Nails are made of dead keratinized cells which categorically don’t need to breathe. Your nail beds need oxygen, like all skin. But, like all skin, they get it from your blood. You crack on with your gels!
“Your hair grows back thicker after you shave.”
It sounds plausible, doesn’t it? And sometimes if blooming feels like I, especially if, like me, you are prone to ingrown hairs. But it’s not true! Your hair grows back exactly the same after it’s been shaved. When you think about it, why would it suddenly change texture? Does your hair get thicker after every hair cut? Nah. So if you like your razor, then happy shaving!
“If you pluck out your grey hairs, 3 more grow back.”
Yeah… No. It might feel like they’re multiplying, but no! Pluck out any kind of hair, and only one single hair will grow back from your single follicle. If it was a grey hair you picked, then sadly a grey will grow back. Or not so sadly, you might love your grey! But if you want to pluck ’em, then rest assured you’ll get the same amount back!
“White marks on the nail mean you’re lacking calcium.”
It’s another one I’ve heard a lot. Those white marks on your nail are just signs of superficial trauma. Although the medical world seems divided when it ones to whether healthy nails need calcium or not, it’s definitively true that those white marks aren’t about calcium. If you get enough calcium your whole body will thank you, particularly your bones! And avoiding those white marks on your nails is more about not knocking them or scratching them.
“If you cut your hair often, it’ll grow faster.”
Hair grows about 1.5 cm per month, on average. Your hair grows fastest between the ages of 15-30, and as you age it slows down. The internet is awash with tips for increasing hair growth speed, and some of them may even work. But lots of trims won’t do it, I’m afraid!
Do you know any more common beauty myths? Share them, lets debunk the lot!
Making up in the City – Zoe’s Week in Pictures
View this post on Instagram
View this post on Instagram
View this post on Instagram
View this post on Instagram
Romany Health and Beauty Secrets by Claire
Scorpio Sensuous Bath Oil
It’s officially Scorpio season, so here’s a remedy to suit the time of year. To keep the reproductive system healthy, and in particular for women to avoid common ailments such as thrush, don’t use highly perfumed bath products. Try this bath oil instead. It is easy and inexpensive to make and is a present for Scorpio friends, especially if you put it in s pretty coloured bottle. It’s made from olive oil (from your kitchen) and almond oil (from your chemists or local food store; both better than baby oil, which rests on the surface of the skin and isn’t absorbed. The oil keeps for 2 weeks in the refrigerator.
Ingredients:
- 2-3 tablespoons fresh herbs such as rosemary and lavender, or rose petals and jasmine, or a combination
- 2 eggs
- 4 tablespoons olive oil
- 4 tablespoons almond oil
- 4 tablespoons vodka (yes, vodka)
- 123ml milk whisked
- 2 teaspoons runny honey
Crush the chosen herbs and petals using a mortar and pestle. Put into a spotlessly clean 300ml jar. In a bowl, beat together the eggs, olive oil, and almond oil. Add the vodka – it allows the oil to disperse – and then the milk. Pour into the jar, add the honey, and shake well (with the lid screwed on, need I say!). Use some of this in your next bath. Start with a tablespoon. Your skin will feel like silk.